
![]()
![]()

![]()
|
|
|
|
Fed up with that stirring a pudding feeling that a worn-out gearshift gives? Well maybe it’s time you got rid of your old shifter and upgrade to a new quick shift. Let’s face it, the gear change on most VWs doesn’t inspire confidence when short-shifting on the street or strip. How often have you missed a gear or inadvertently shifted from first to reverse by accident? I know I have done so on many occasions and cringed at the thought of those crunching gears. Our stock shifter had seen better days. Maybe it was all that pootling around the countryside that took its toll. Maybe it was just down to a lack of maintenance. Who knows for sure? We decided to give a call to a local VW shop to see whether they could help us out with an after market shifter. As it happened, they had an EMPI item in for a type 2 that would do the job nicely. As you can see from the feature, replacing your shifter is relatively a straightforward task that can be easily done in under an hour. The process is exactly the same for all Type 1,2,3 and 4 based vehicles, so whether you drive a camper, variant or Bug with a sloppy gear change, you can follow this guide.
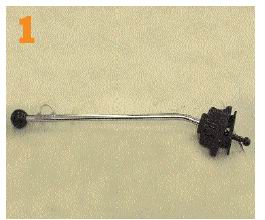
Shifters come in many shapes and sizes. This one is made by EMPI and is available to fit all types of air-cooled VWs. It has a reverse gear lock out.
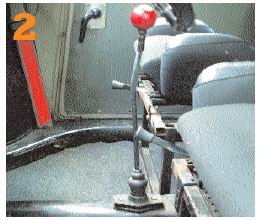
The standard gearshift on our car had been messed around with over the years. Pool-ball shift knobs says it all really.
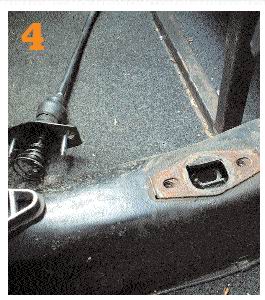
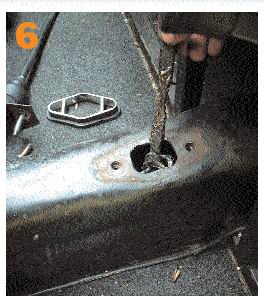
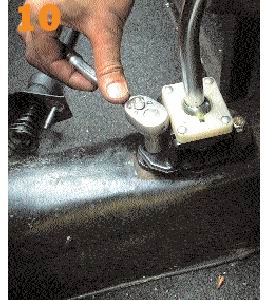
Shifter is removed by undoing the two 13mm headed bolts. The nuts beneath are captive, so no need to worry about.
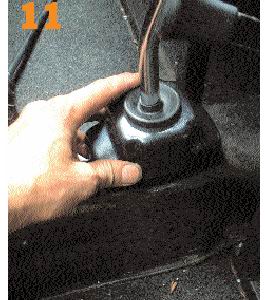
With the shifter removed, you see that there has been little maintenance going on in this area. The reverse gate plate is all rusty and greaseless.
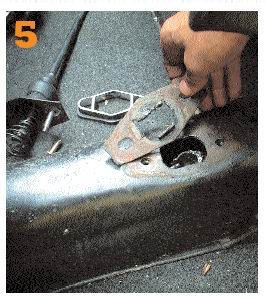
Not to worry though, as we won’t be needing this any more. The new shifter has its own gate integrated into the bottom of its mount.
Now is a good time to pack the shifter rod socket with grease to ensure smooth shifts. You should put some on the linkage too.
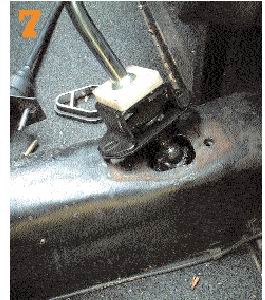
Offer up the new shifter and make sure you have greased the shifter ball. Insert the ball into the socket to engage the shifter to the rod.
You will need to push down on the shifter to overcome the spring pressure while inserting the bolts. We added a short shift spacer, too……
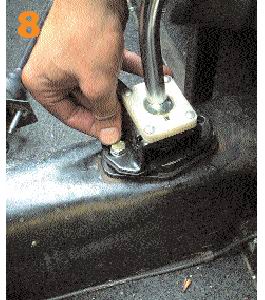
….but you won’t need to do this on your ride. The shifter has elongated holes so that you can centralise the shifter with ease.
It will take a few trial adjustments to ensure that you have set the new shifter in the right place. Check you have all gears and adjust if not.
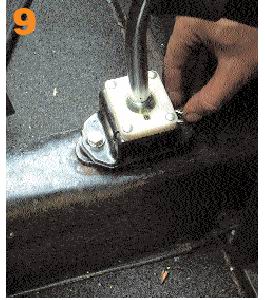
Once you are happy that you have all your gears and that you can shift smoothly, slide the plastic dust cover over the base.
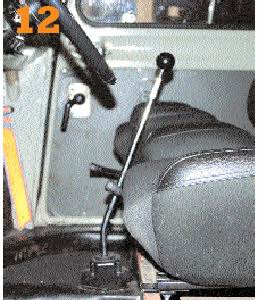
Job done! The new shifter looks the business, and you will be amazed by how much less you have to move the gear stick in order to shift your gears. |
|
Send mail to
eagleeye@searchmalta.com with
questions or comments about this web site.
|